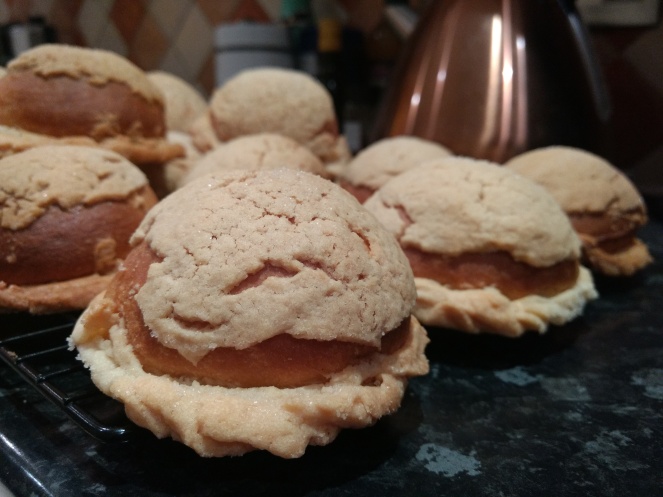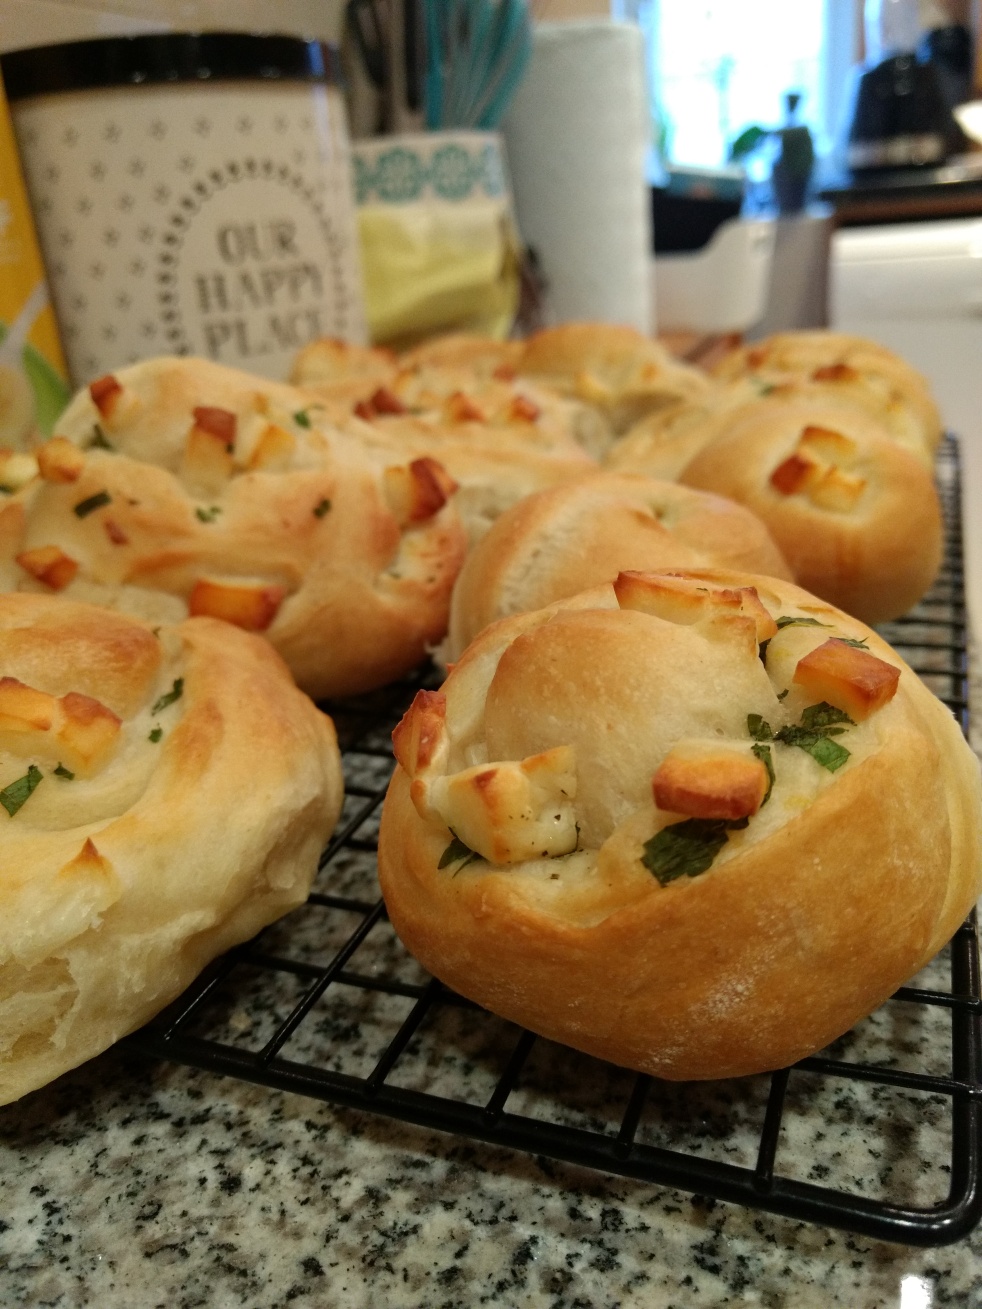
Cypriot halloumi bread
Before lockdown, every so often we’d visit a Greek deli near Kensington Gardens, the Athenian Grocery. One of the things I miss the most is the variety of cheeses and breads available, including halloumi bread.
The first time I ever made it I followed a recipe online which is no longer available (there are others out there, of course). However, since the main idea is an enriched white dough encasing halloumi, mint and lemon zest, I just threw a recipe together over the winter holidays. It is pretty straightforward. My only comment would be not to skip the mint (I used fresh) or the lemon zest. They both add to the bread as a whole and prevent it from being just plain salty.
Ingredients
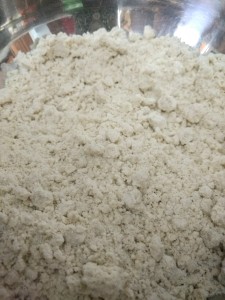
500g strong bread flour
50g olive oil
1 sachet of yeast
10g salt
about 320g of liquid (could be water or any milk for a softer bread)
1 small block of halloumi
mint
zest of 1 lemon
Method
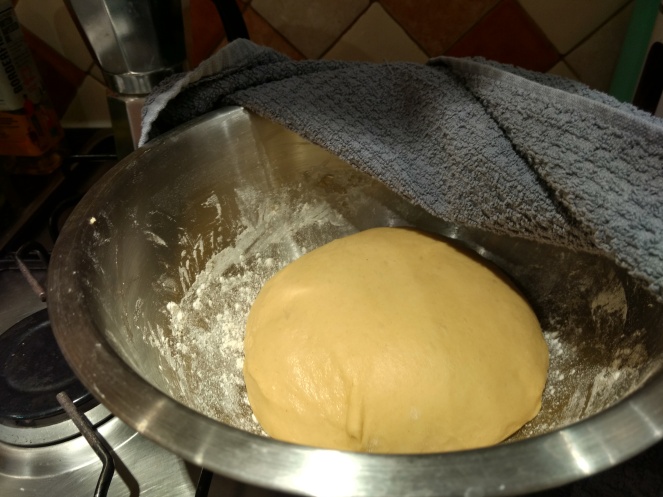
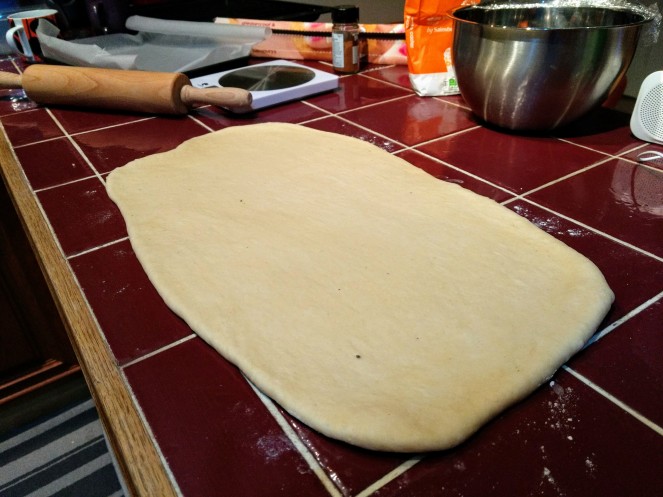
Combine flour, salt and yeast. Add oil and almost all of the liquid (I always leave a bit in the jug just in case the dough is too wet) and mix into a dough. Add the rest of the liquid if necessary. Turn out the dough unto the counter and knead until the dough is smooth and elastic. Shape into a ball, dust some flour in the bowl and leave to rest, covered in the bowl, for about an hour in a warm place.
Prover tip: If you turn on your oven for 1 minute to the max temp. and then turn it off it will be warm enough to work as a prover. Definitely handy during the winter months!
Close to end, prep the filling. Chop/crumble the halloumi into small pieces. Chop the mint (use about 10-20 leaves?) and the zest (to make it even tinier).
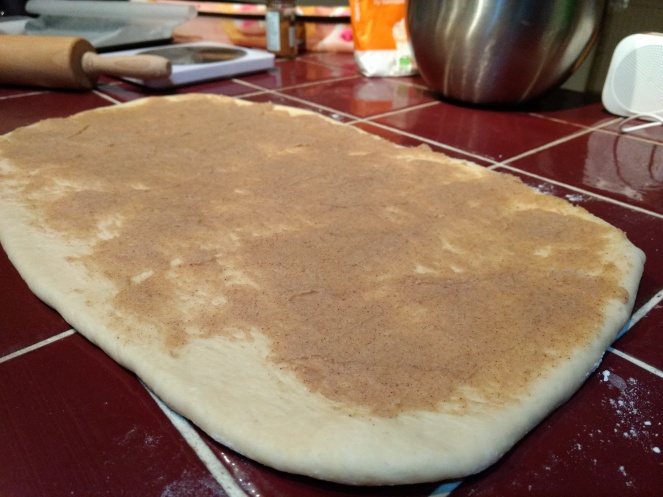
Once the dough has risen, pop back unto the counter and roll it out into a rectangle. Spinkle the filling ingredients on the dough,leaving about an inch filling-free along the bottom edge.
Roll tightly towards you. Slice the long cylinder in half, and each half in thirds (though you can make them smaller if you wish, just keep an eye out when they’re baking).
Place these rolls on a baking sheet, cover with a clean tea towel and leave to rest about 30min.
Preheat the oven to 200°C.
If desired, right before baking you can glaze the rolls with an egg wash or a milk wash for colour (I usually skip it).
When ready, bake for around 20min (rolls bake faster than loaves, however always check the bottom to see if they’re done baking. Along with a golden brown bottom, you want to hear a hollow sound when tapped), or until the rolls are golden.
Leave to cool on a rack (if you can!).